Hey gang,
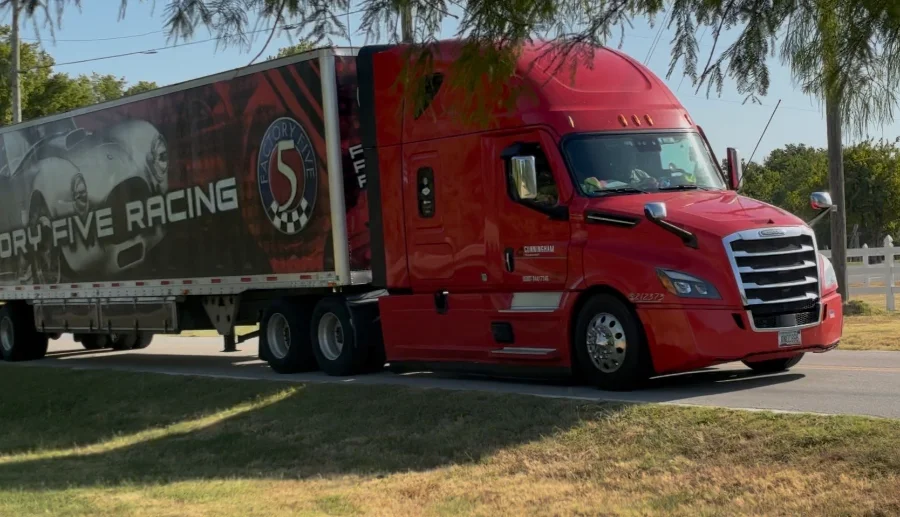
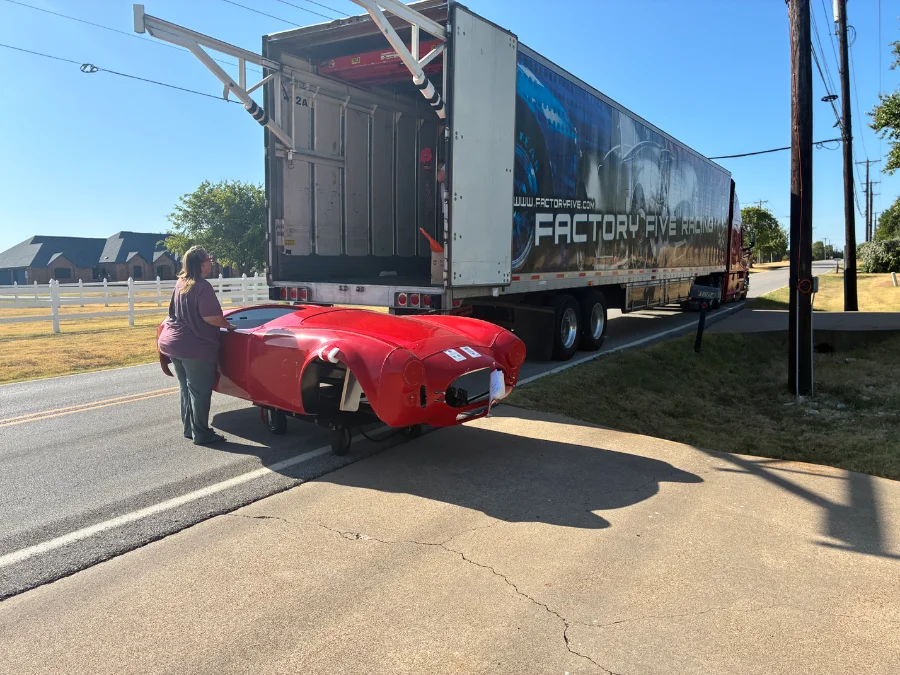
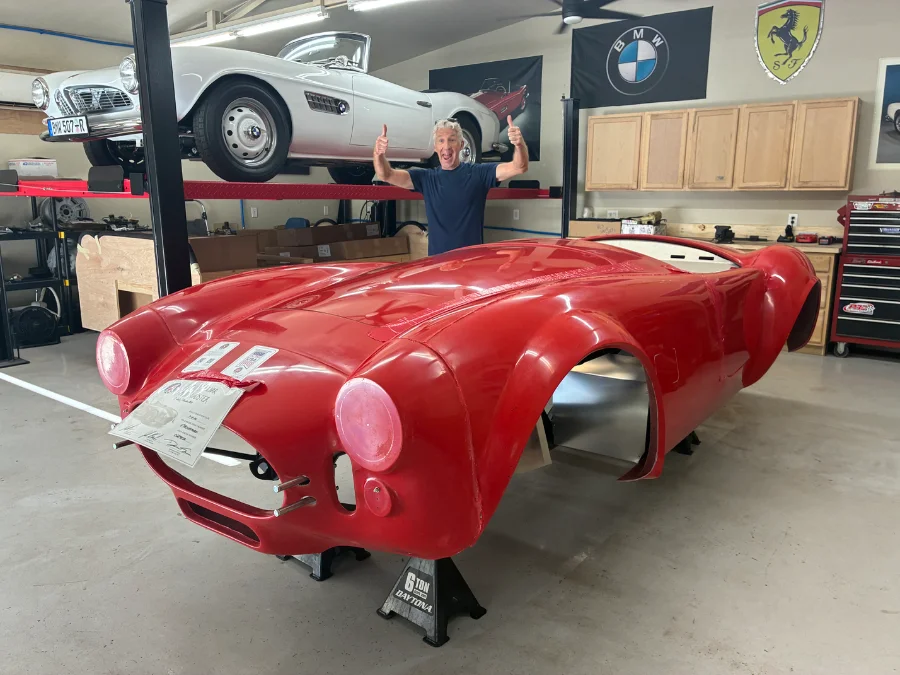
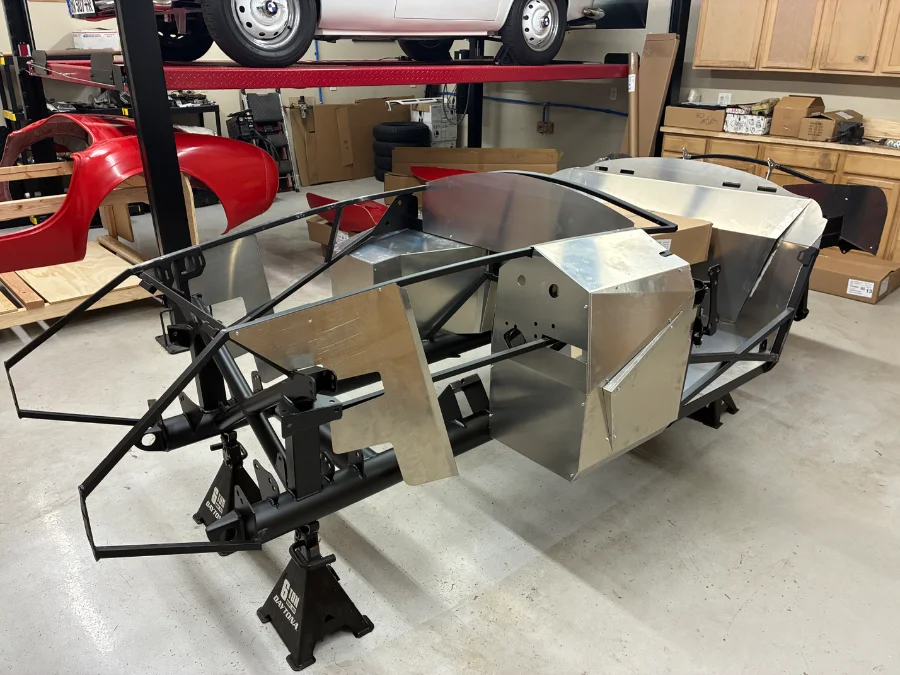
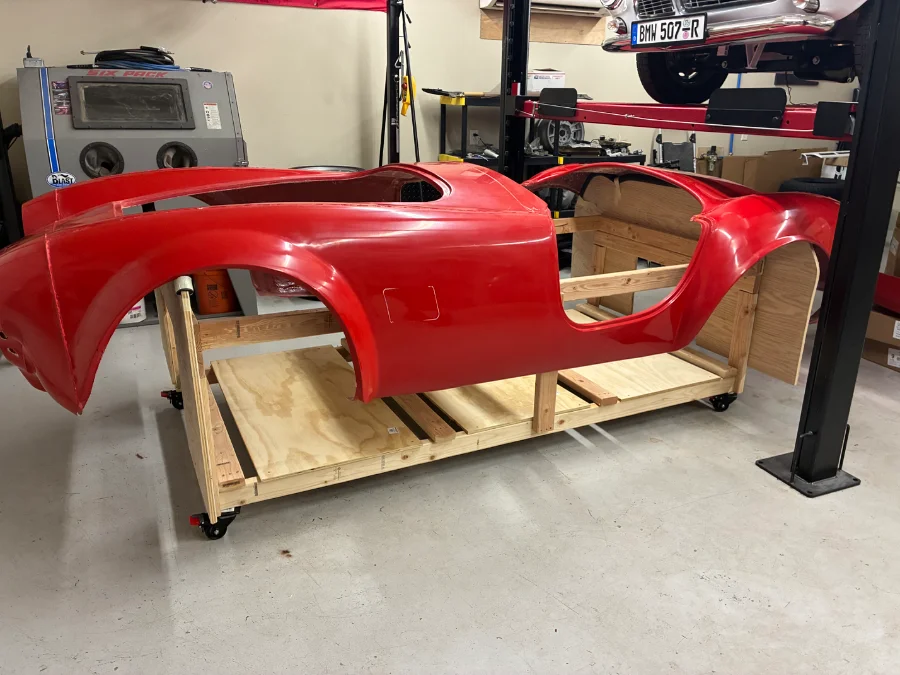
Kit delivered on the 12th of last month. I was able to get some good progress done these last two weeks. Chassis is almost done. I’m about to order the transmission kit and will be looking at motors next month. I’ll soon have a body dolly to sell to the next good
home!
Cheers
Dave
I didn’t follow the directions exactly. Honestly, they could have done a better job with them. The jump all over the place. I ordered a base kit since I knew I’d be looking for my own parts for my specific build. Still a few items in backorder. But nothing that held up the progress. I mounted all the interior aluminum panels and kept the top of the trans tunnel and left outer footbox removable for access to things until I stab the engine/trans and finish the pedal box area.
I deviated from the standard FFR items with a few things; brake/clutch pedals, throttle pedal, parking brake, battery mounting. My idea behind the build is the street roadster. No hoop, no side pipes, no roll bar. I welded up a battery mounting box up front like the street cars have versus in the trunk. My master cylinders are also outside the car, not inside using the reverse Wilwood pedal box that they sell.
I hid the electric parking brake along the main passenger side frame rail. The box is behind the dash. Here’s the dash with layout. I ordered a blank panel so that I cut out the gauge holes and glovebox myself. I’ll be using Smith’s gauges with a clock too. I’ll be fabricating the glove box insert, door, and braces later this month.
Here you can see the Ron Francis harness (I bought this about ten years ago!) installed and the E-Brake control box mounted. I’m missing two gauges which should come in next week. I also sanded down the bonding seams, filled with reinforced filler, then sanded and two heavy coats of DP50LF epoxy primer. It’s coming along!
Undercar exhaust mock up. Heater installed. This will have a plenum inside the glovebox which will direct the air to the dash vents and two vents installed in a duct below the dash. Very happy with how it’s coming out.
Edelbrock EZ Street EFI showed up yesterday, so I’ll continue the fuel system installation later this week.